Dollhouse Wall Planter
I wanted to add some charm to my dollhouse by creating a wall planter for the porch. I loved the idea so much that I decided to make another one inside the house. Check out the simplified version of the process below for an alternate version.
Materials Needed:
- Cardstock (1 Sheet)
- Scissors
- Exacto Knife
- Ruler
- Tacky Glue
- Artificail Plant Filler
- Supplies for Holding Glue:
Use a paperclip, tweezer, or pliers to clip and hold down the glue.
Instructions:
1. 
Cut two circles out of cardstock with a 2" diameter.
2. 
With an Exacto Knife, lightly score one of the circles directly in the middle. Score the a quarter inch above the middle line you cut previously.
3. 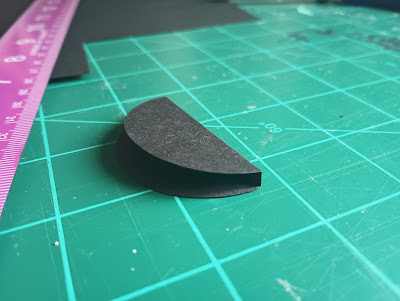
Fold over the score lines on the cardstock like the image. One side should be shorter than the other. Set aside.
4. 
Cut one long strip of cardstock the length of the circumference of the circle from step 1.
5. 
Score the strip to the desired width of your wall planter. Make sure to leave enough allowance to glue the strip to the circles. Fold both sides in the same direction (as seen in the image above).
6. 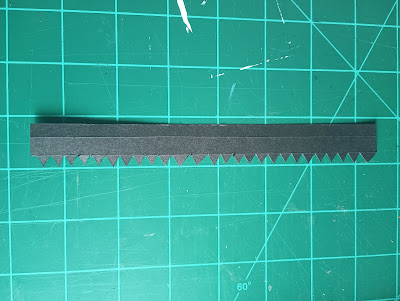
Cut triangles into the paper on one side of the allowance completely. This will allow the paper to curve more easily without bulging.
7. 
Measure half of the circle's circumference without cutting into triangles. Cut the other side of the long strip into triangles.
You should now have:
One complete circle (the back)The folded circle (the front)
The long strip (the lining of the planter)
8. 
Attach the strip with the all-triangle allowance to the back of the complete circle. Ensure that you stick it to the back, as the side without the glue will be visible.
9. 
Fold over the flat allowance down. Secure with glue if you prefer. If your strip overlaps, cut and glue the overlapping strip to your size. Use a paperclip, tweezer, or pliers to clip and hold down the glue.
10. 
Fold down the remaining triangles inward. With the short side of the circle, glue the folded circle onto the triangles. This will take some finagling and patience.
Note: The larger side of the folded circle needs to be facing outward.
11.
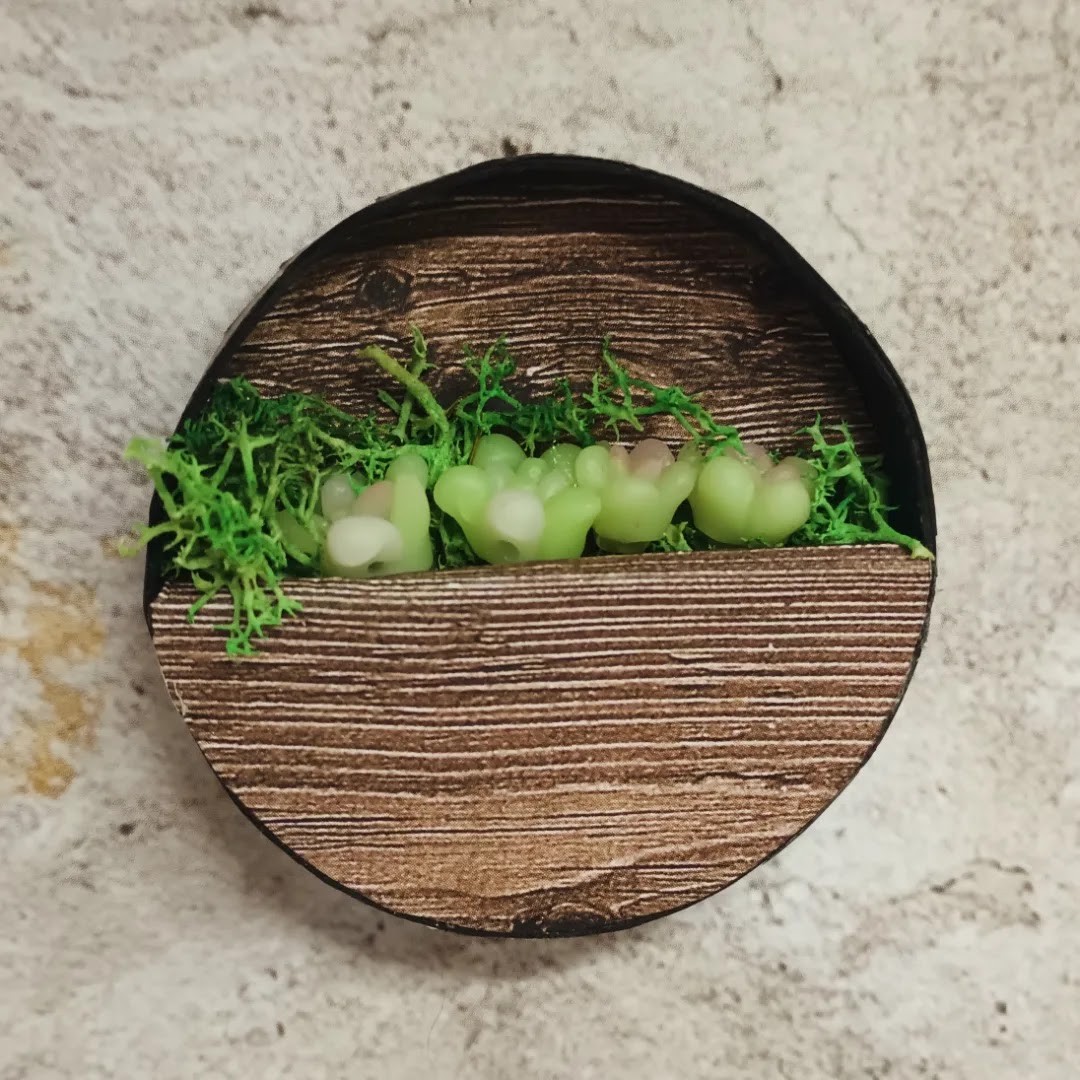
With that, your wall planter is done, with a pocket that you can fill with any artificial plants you would like to display in your doll house.
Enhancing Your Planter
You can customize your planter however you prefer. Initially, I used silver metallic cardstock to give it a rustic look. While I adored the planter, it didn't quite embody the Spring atmosphere I desired, prompting me to redo it. Initially crafted from black cardstock, it seemed out of place with the rest of my Spring decorations. Therefore, I decided to cut strips of wood scrapbook paper and adorn the visible sections of the wall planter.
For my next step, I intend to utilize my Cricut to create a small vinyl applique to embellish the front of the wall planter. Alternatively, you could inscribe it as I did in my first version (using metallic silver) with a fine-tip Sharpie pen.
I trust these instructions are clear and useful. If you recreate this wall planter, kindly mention me on my Instagram handle @ollys_dollhouse. I'd be delighted to admire your creations.


Thank you,
Olly
Comments
Post a Comment